

Preparations for your wall paneling or wooden ceiling paneling
Are you looking for a beautifully crafted and energy-saving ceiling or a clean, wood-paneled wall?
At your nearest lumber dealer or hardware store you are sure to find everything you need, such as:
- Wooden slats for a stable substructure
- Profiled wooden boards of your choice (tongue-and-groove / tongue-and-groove profile)
- Ceiling hangers for safe and stable installed wooden ceilings
Do you have all the materials together, such as your wooden substructure for the wall paneling or your ceiling hangers for your wooden ceiling?
Fastening the substructure
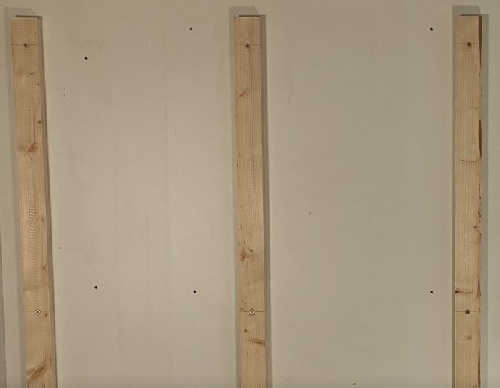
In the first step, we begin attaching the wooden slats as a substructure to the wall or ceiling of your choice.
In the case of wall cladding, screw the substructure directly to the wall at the required distance to ensure optimal ventilation behind the boards and the wall.
In the case of ceiling suspension / wall cladding with wood, attach the wooden slats to the ceiling hangers that you have already screwed in.
Then mount the first row of profile boards to your wall or ceiling using a starting claw or a visible screw.
The installation of the tongue-and-groove boards
Once the first row of profiled boards is screwed in place, attach the remaining rows by inserting your additional profiled timbers into the groove of the lower row of boards. Repeat this process until the row of profiled boards on the wall is complete.
Next, the boards are further screwed in place using the profile screw claws. To do this, place your profile board claw centrally on the substructure and insert the claw into the groove of your board. Next, the profile board clamps are attached to the wooden substructure. The included screws provide the necessary hold for your invisible wall mounting.
You can then start with the next row of profile boards.